Aphrodite's California Reshade Preset (NVR/VisualV/Vanilla) 1.0
1.104
4
1.104
4
Greetings!
This is my first mod so please excuse me for any inconveniences.
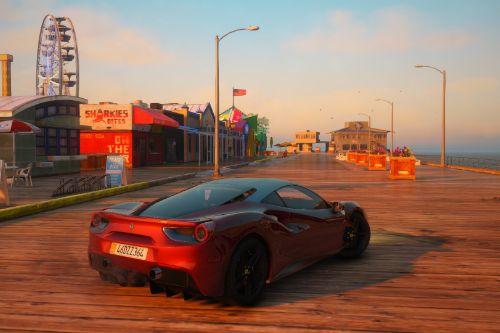
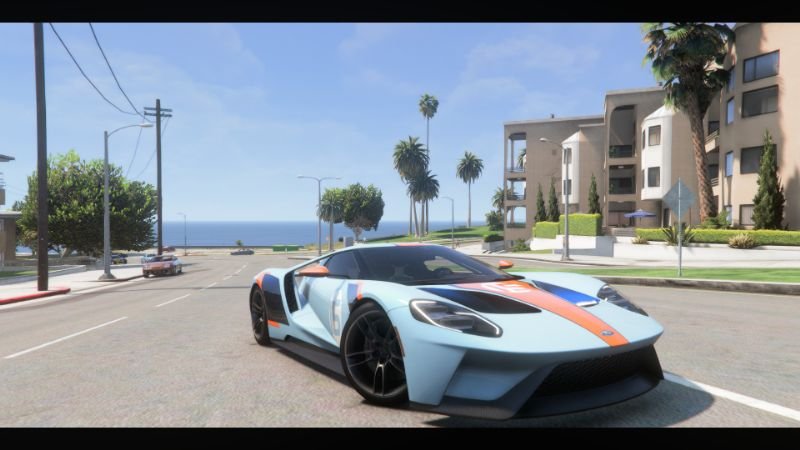
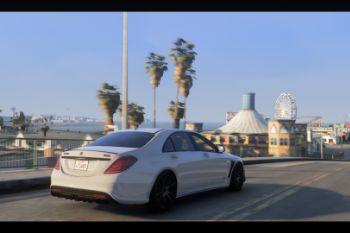
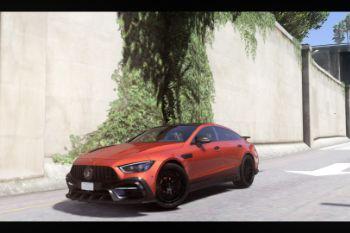
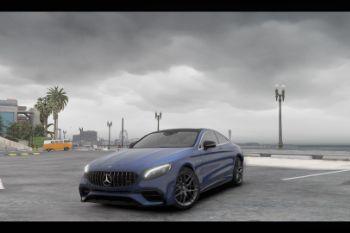
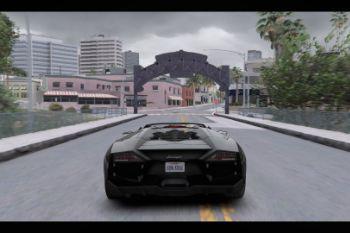
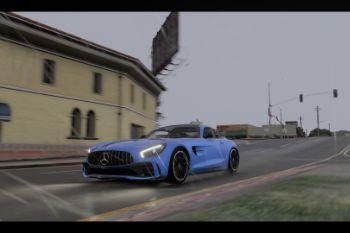
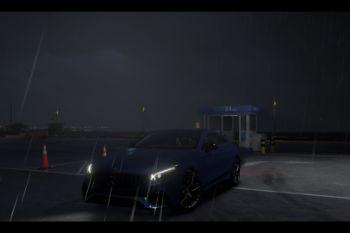
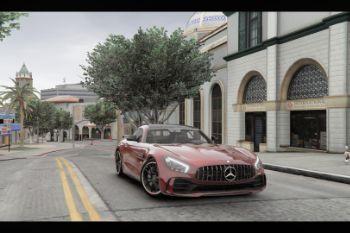
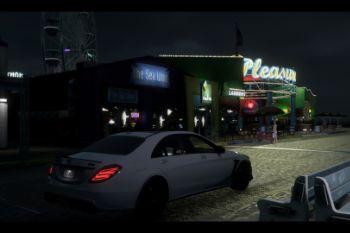
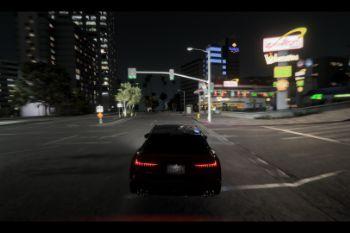
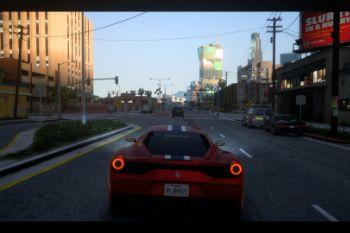
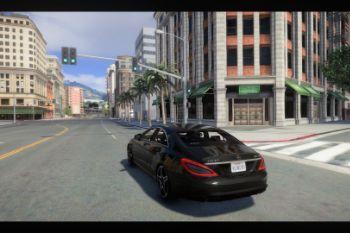
This preset will change your game's look to that of California. It's compatible with Low-End PCs as well. Works best with these graphics mods - VisualV, NaturalVision Remastered, CIneRealism.
Features:
High Sharpness
Brighter Days
Darker Nights
Darker Shadows
Minimal FPS Drops
Use these in-game settings for best results:
Brightness - 10-15
Post Processing - Very High
Soft Shadows - Softest
Installation:
1. Download ReShade from reshade.me
2. In the setup menu, install it to your "GTA5.exe" or GTA directory folder. Skip the install on all packages/shaders in the setup menu (eg. "sweet.fx") and select the option "Direct X
10/11/12" as this is what GTA runs on.
3. Drag and Drop the "California" preset to your GTA directory.
4. When in-game, the reshade menu will popup. Open the Reshade GUI with "Home" key and select the "California" preset.
5. Now enjoy your game's new look!
If you wish to disable the Cinematic Borders, you can disable it by pressing the "B" key.
NOTE: If your game doesn't match the screenshots it's because the screenshots were taken with the "CineRealism" alongside the "Natural Vision Remastered" graphics mod.
Pertama diunggah: Jumat, 19 Juli 2024
Terakhir diperbarui: Minggu, 21 Juli 2024
Terakhir Diunduh: 7 jam yang lalu
0 Komentar
More mods by TheAphrodite:
Greetings!
This is my first mod so please excuse me for any inconveniences.
This preset will change your game's look to that of California. It's compatible with Low-End PCs as well. Works best with these graphics mods - VisualV, NaturalVision Remastered, CIneRealism.
Features:
High Sharpness
Brighter Days
Darker Nights
Darker Shadows
Minimal FPS Drops
Use these in-game settings for best results:
Brightness - 10-15
Post Processing - Very High
Soft Shadows - Softest
Installation:
1. Download ReShade from reshade.me
2. In the setup menu, install it to your "GTA5.exe" or GTA directory folder. Skip the install on all packages/shaders in the setup menu (eg. "sweet.fx") and select the option "Direct X
10/11/12" as this is what GTA runs on.
3. Drag and Drop the "California" preset to your GTA directory.
4. When in-game, the reshade menu will popup. Open the Reshade GUI with "Home" key and select the "California" preset.
5. Now enjoy your game's new look!
If you wish to disable the Cinematic Borders, you can disable it by pressing the "B" key.
NOTE: If your game doesn't match the screenshots it's because the screenshots were taken with the "CineRealism" alongside the "Natural Vision Remastered" graphics mod.
This is my first mod so please excuse me for any inconveniences.
This preset will change your game's look to that of California. It's compatible with Low-End PCs as well. Works best with these graphics mods - VisualV, NaturalVision Remastered, CIneRealism.
Features:
High Sharpness
Brighter Days
Darker Nights
Darker Shadows
Minimal FPS Drops
Use these in-game settings for best results:
Brightness - 10-15
Post Processing - Very High
Soft Shadows - Softest
Installation:
1. Download ReShade from reshade.me
2. In the setup menu, install it to your "GTA5.exe" or GTA directory folder. Skip the install on all packages/shaders in the setup menu (eg. "sweet.fx") and select the option "Direct X
10/11/12" as this is what GTA runs on.
3. Drag and Drop the "California" preset to your GTA directory.
4. When in-game, the reshade menu will popup. Open the Reshade GUI with "Home" key and select the "California" preset.
5. Now enjoy your game's new look!
If you wish to disable the Cinematic Borders, you can disable it by pressing the "B" key.
NOTE: If your game doesn't match the screenshots it's because the screenshots were taken with the "CineRealism" alongside the "Natural Vision Remastered" graphics mod.
Pertama diunggah: Jumat, 19 Juli 2024
Terakhir diperbarui: Minggu, 21 Juli 2024
Terakhir Diunduh: 7 jam yang lalu
Gabung dalam pembicaraan! Masuk atau daftar akun untuk dapat komentar.
![SP Carcols - Vanilla Tuning Addition [Replace | OIV] SP Carcols - Vanilla Tuning Addition [Replace | OIV]](https://img.gta5-mods.com/q75-w500-h333-cfill/images/sp-carcols-replace-oiv/e0dd73-SPCarcols_V1.4.jpg)


 5mods on Discord